- July 18, 2025
-
-
Loading

Loading

Joannie Atkins has been doing special-effects makeup since 2003; she graduated from the Tom Savini School of Special Effects Makeup. She works with area photographers and production companies to produce some authentically scary-looking makeup. Every Saturday during the Halloween season, she turns 10 to 15 normal looking people into the creepy inhabitants of Hunsader’s Rockin’ Ranch Twisted Woods.
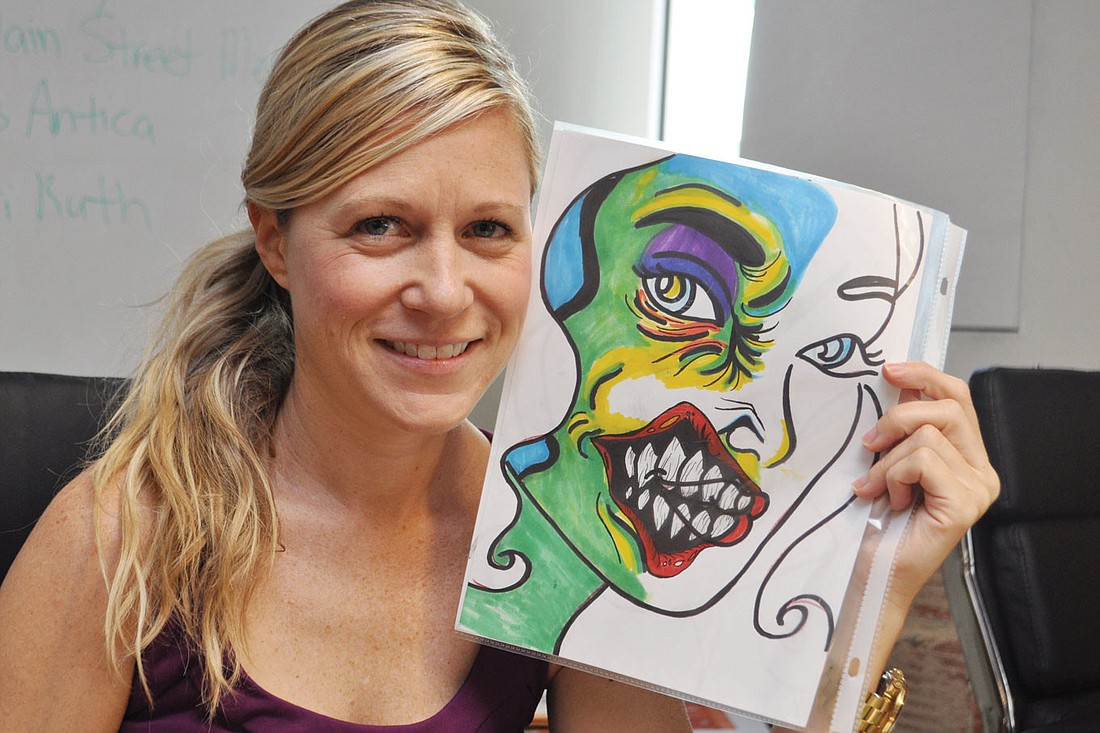
Last week she created a special Halloween look for the East County Observer. Follow these steps to recreate the spooktacular look at home.
Supplies:
• Paint brushes
• Paradise makeup palette, $30 (The Glass Slipper)
Step one: Draw your design
• Draw out your design before painting it to get some practice. If you can draw it, you can paint it. Watch our video a couple of times to get the hang of it.
Step two: Give it a base.
• Paint half of the face and neck with white paint. Set the base with translucent powder. Use powder every so often to set your design.
Step three: Wrinkles, eyes and eyebrows
• Make a growling face, and where the face naturally wrinkles, define those wrinkles with yellow paint. Add purple to both eyelids, or use purple to deepen the eye socket to create a sunken look. Using the same color purple, add shadows to one side of each wrinkle. You’ll use blue on the other side of the yellow to emphasize each line.
• Add black lines to the inner-eye wrinkles. Paint over the eyebrow creating a Frida Kahlo-meets-the-Wicked Witch bushy eyebrow.
Step four: Teeth, jaw and lips
• Add yellow teeth above and below the lips. The gnarlier, more asymmetrical and jagged, the better. Add green lines to the teeth to give them texture. Outline each tooth with black, and extend the black beyond the teeth to create an exaggerated smile shape. Add red lips, first on the normal-looking side of the face and then around the new jaw line on the opposite side. Outline the red with black and add a few white reflection spots and black lip lines.
Step four: Face frame, fill, blend and stitching
• Sponge the face frame with blue, green, purple and then black. Add red below the eyes and above the brow for emphasis. Fill in the white areas with dark green and light green and blend with fingers.
• Outline the face frame with black. Add lines to create a stitched effect.