- November 27, 2024
-
-
Loading

Loading

Skill level: 2 out of 5
Cost: 3.5 out of 5
Time: 1 day
Supplies:
• Spray paint
• Drawer pulls
• Nailhead trim
Tips:
Nailhead trim can be found where you can buy upholstery supplies, such as Jo-ann Fabrics. It comes in 5-foot and 10-foot yards. Hardware stores do not sell it, so call before you venture somewhere.
1. Select dresser
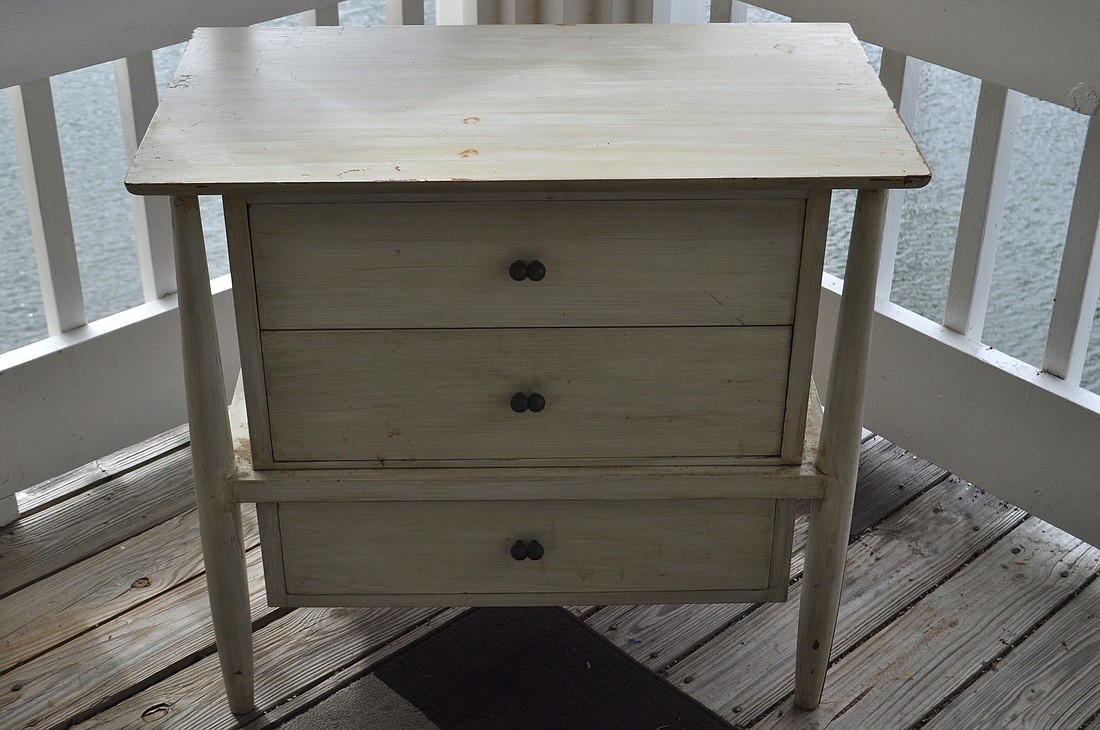
Scour Goodwill, Woman’s Exchange and garage sales to find the perfect set of drawers — it took us three separate trips to Goodwill before we settled. Pick something that’s quailty wood, in good condition. This means no particle board; the drawers should be functioning properly; and it should be sturdy.
2. Strip hardware and clean
The original hardware was rusty, and it was an unusual shape. Because it had two pegs per pull, there was no modern equivalent to fit as a replacement. We applied wood filler, let it dry for a few hours and then sanded the surface smooth. It’s also important to clean the surfaces before painting.
3. Paint
Select a color that matches with your interior space. We went with a lighter creamy mint green that wasn’t too far away from the egg-shell color of the original dresser. We went with spray paint, but you could use anything. After the paint dries, coat it with a layer of polyurethane.
4. Add new hardware
Screw the new drawer pulls into place. These don’t necessarily have to be “new” drawer pulls, but could be from from Sarasota Architectural Salvage or a similar place.
5. Add nailhead trim
This is the fun part. You can do any design: criss-crossing diamonds, swirling loops or an Egyptian style, to give you some ideas. We went with adding trim to the perimeter of individual drawers. Because they were so narrow, another design would have made it feel cluttered.