- November 27, 2024
-
-
Loading

Loading

SUPPLIES:
corks
screws
liquid nails
trophy tops
drawer pulls
any knickknacks that a screw could go through
TIPS:
If you’re using recycled corks, make sure you try them out on different wine bottles so you can be sure they fit a variety. The skinnier the cork, the better.
1. Select your topper
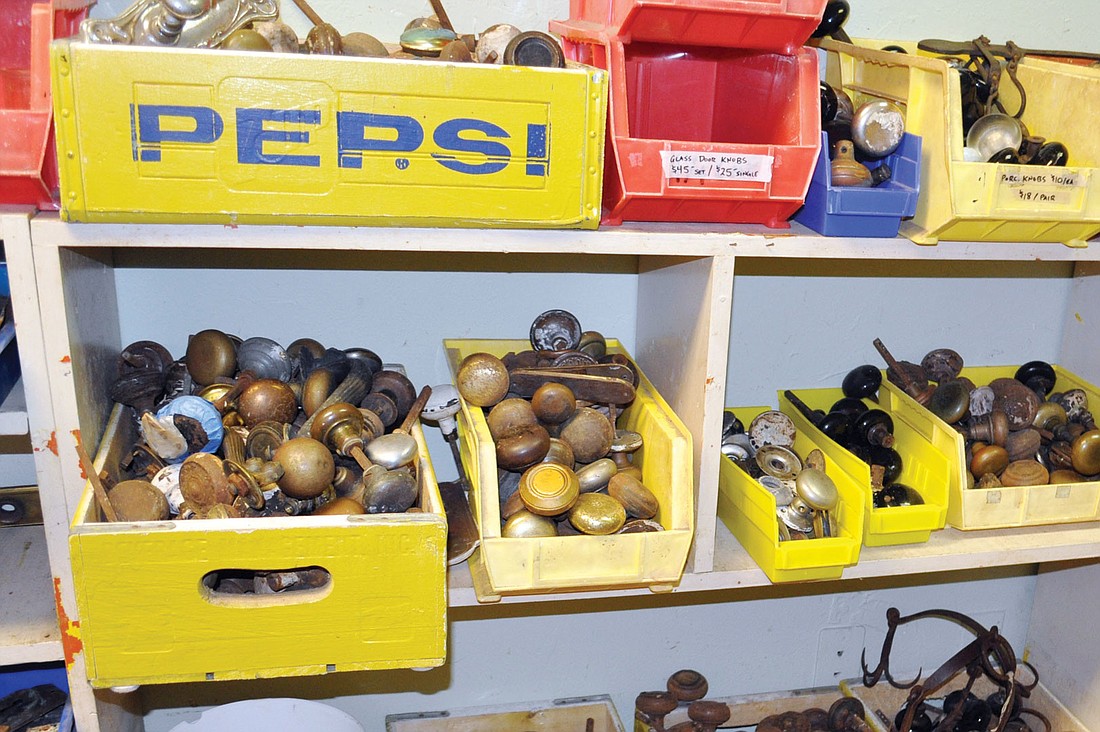
This is the fun part. We went to Sarasota Architectural Salvage, 1093 Central Ave. because it’s like hitting jackpot for those rustic-looking odds and ends that make the best wine-bottle toppers. (Did we mention they have free beer on Saturdays?)
We settled on a fence post topper, a few tops of trophies and decorative drawer pulls — anything that a cork can fit snugly inside of, anything that has a screw that can go up through the bottom of a cork and into the topper’s hole or anything with a screw attached to it will work.
2. Process 1: Liquid nails, cork and a topper
The fence post top was the easiest to put together. We filled the inside of the fence post top with liquid nails, put the cork in it and cleaned the edges.
Another tip:
Most major craft stores sell corks that start wide and get thinner toward the bottom. These are your best bet.
3. Process 2: drawer pull (or any topper a screw can go into)
This process works best with a recycled cork. Measure the length of the screw with the cork and topper, and cut the cork so enough of the screw is left to fit inside the topper. Screw into the smoothest side of the cork up through the top and into the drawer pull or into the knickknack. We found using a dab of liquid nails really secures this type of topper.
4. Process 3: trophy topper
Pre-drill a hole into the top of the cork using a screw that’s the same width as the screw that sticks out of the trophy head. Apply liquid nail to the inside base of the trophy head, screw the cork on and clean the edges.
5. Final step:
Open a bottle of wine, drink a glass and have an excuse to use your new wine-bottle topper!